Installation
The following instruction will guide you through the installation of Grow CRM. The application comes with an easy to use installation wizard, which will guide you step by step, through the installation process.
Please ensure that you have first read the Server Requirements
UPLOADING TO YOUR SERVER
- Start by download the package zip file from your Codecanyon dashboard.
- Once you have downloaded it, you must unzip the folder
- You must then upload the contents of the unzipped folder, onto your server, using an FTP Client, such as Core FTP.
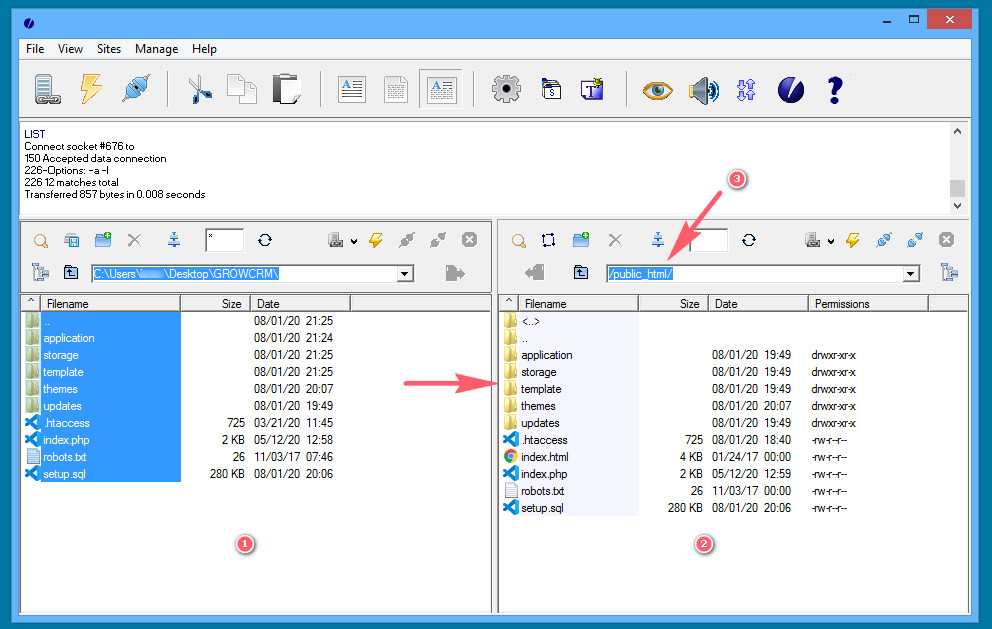
The image above shows a typical connection to your web site’s server. For detailed instructions on how to connect via FTP, please see your web hosting providers’ documentation.
- (1) This is your local computer. In this case, the unzipped Grown CRM folder is on the desktop
- (2) & (3) You will drag and drop all the contents of this folder, into your server (usually into a folder called public_html)
NGINX SERVER
If your server is running Nginx, you will need to follow additional instructions. Please see the section titled Nginx Server Instructions.
Note: These instructions do not apply if your web hosting is based on the standard Apache server (e.g. Cpanel, Plesk, DirectAdmin etc)
FOLDER & FILE PERMISSIONS
The following folders must be writable
If you do not set writable permissions as show below, you will get a 504 Gateway Time Out error.
You can set writable permissions via FTP or via SSH
Depending on how your web server is setup, you can try setting permissions as follows. Try the lowest level first, if it does not work, try the next permission level.
- 0755
- 0770
- 0777
THESE FOLDER MUST BE WRIATBLE

/updates
/storage
/storage/avatars
/storage/logos
/storage/logos/clients
/storage/logos/app
/storage/files
/storage/temp
/application/storage
/application/storage/cache
/application/storage/cache/data
/application/storage/debugbar
/application/storage/logs
/application/storage/temp
/application/storage/app
/application/storage/app/public
/application/storage/framework
/application/storage/framework/cache
/application/storage/framework/cache/data
/application/storage/framework/sessions
/application/storage/framework/testing
/application/storage/framework/views
/application/bootstrap/cache
/application/storage/app/purifier/HTML

THESE FILES MUST BE WRIATBLE

/application/.env
SETUP WIZARD – WELCOME
Once you have finished uploading your files, open your browser to the URL of your website. You will be presented with the setup wizard, as shown below. This is the first page of the setup wizard.
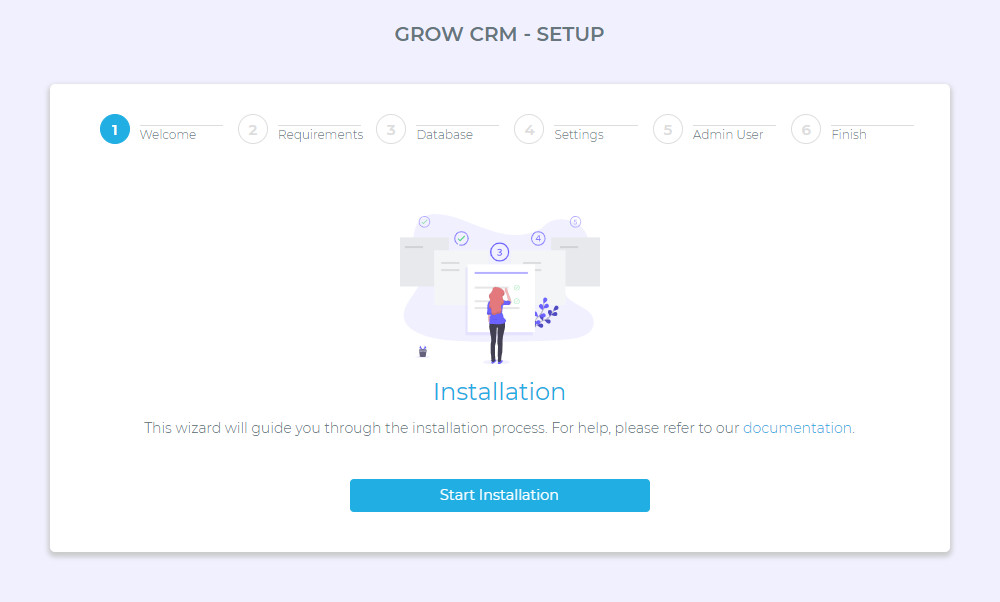
Click on the Start Installation button, to continue.
SETUP WIZARD – REQUIREMENTS
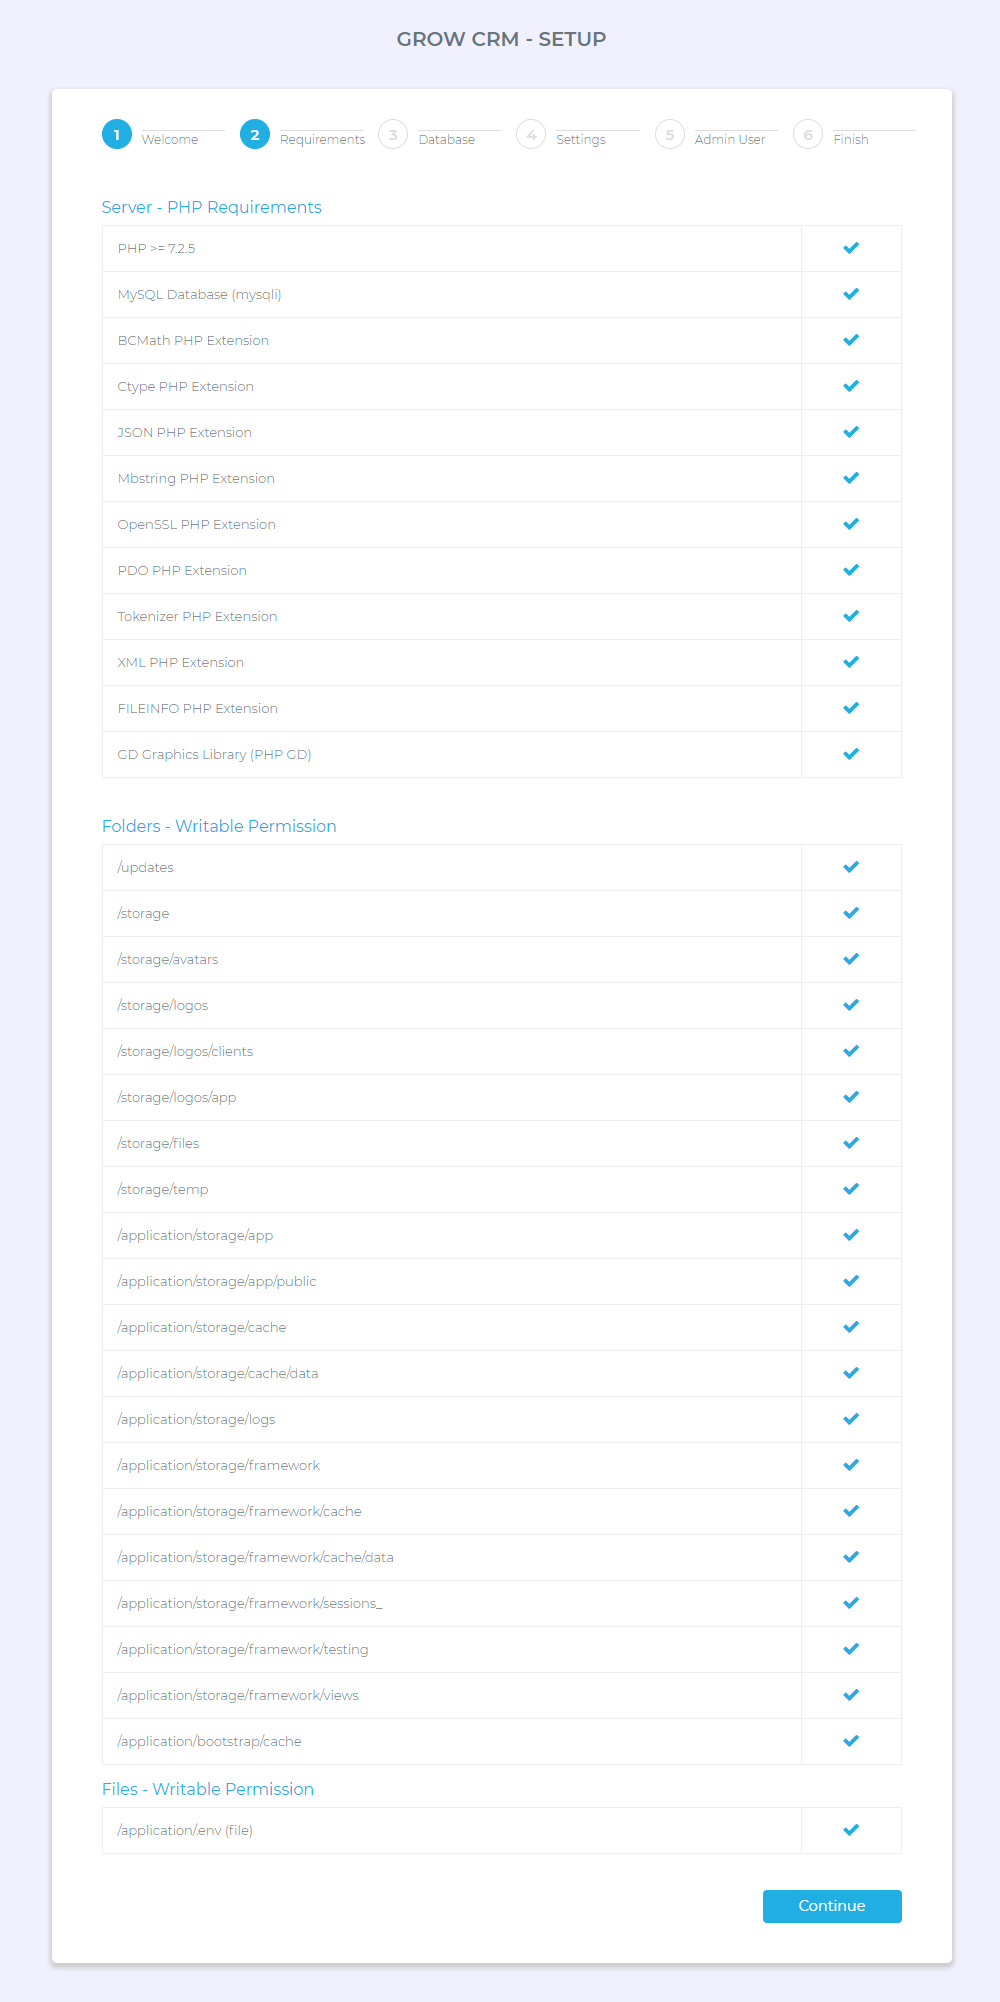
This next step of the installation wizard checks if your web hosting server meets all the Server Requirements. If any item is marked with a cross, you will need to contact your web hosting provider for assistance. You can send them a screenshot of this page.
You can set folder permissions via FTP or via SSH. Depending on your server’s setup, the permission levels can be an of the ones shown below (always try the lowest permission level first)
- 0755
- 0770
- 0777
If everything checks out ok, click on the continue button.
SETUP WIZARD – DATABASE
This next step will require you to have your database information ready. Most web hosting providers control panels, have a section that allows you to do the following.
- Create a new MySQL database.
- Create a new database user.
- Add the database base use to the database.
- Grant full permissions to the database use, on the database.
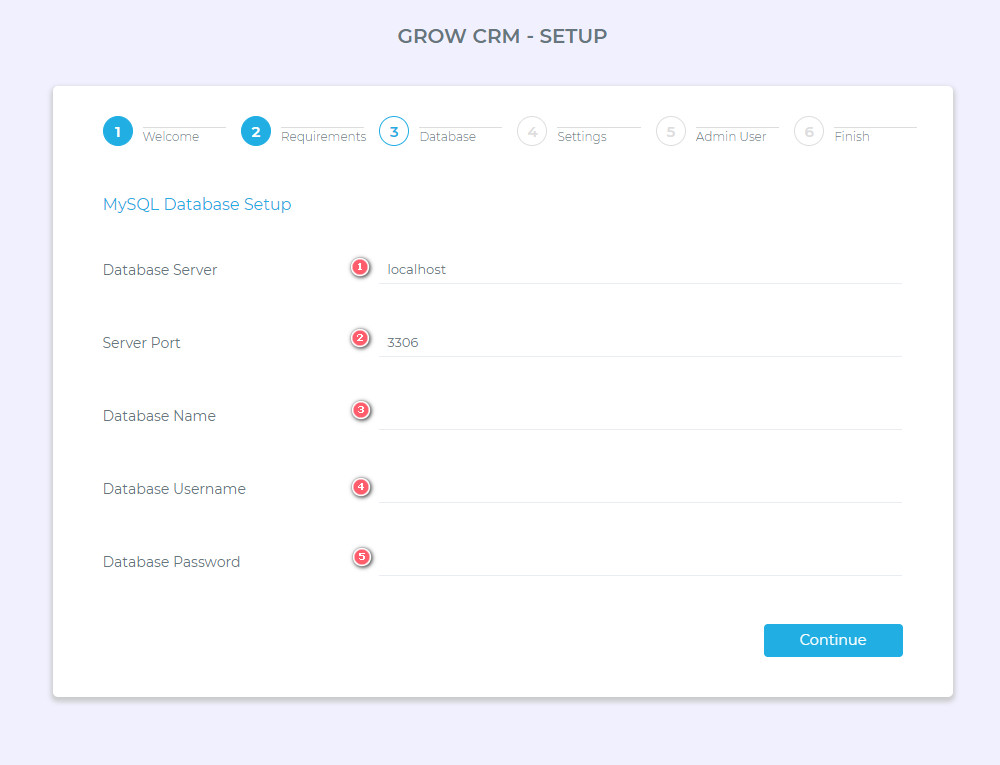
The screen above, shows the database form, for you to enter your MySQL database details.
- (1) Database Server
- This is usually just localhost, unless if your web hosting provider has told you otherwise.
- (2) Server Port
- This is usually 3306, unless if your web hosting provider has told you otherwise.
- (3), (4) & (5) Database Details
- These details have been explained in the section above.
SETUP WIZARD – SETTINGS
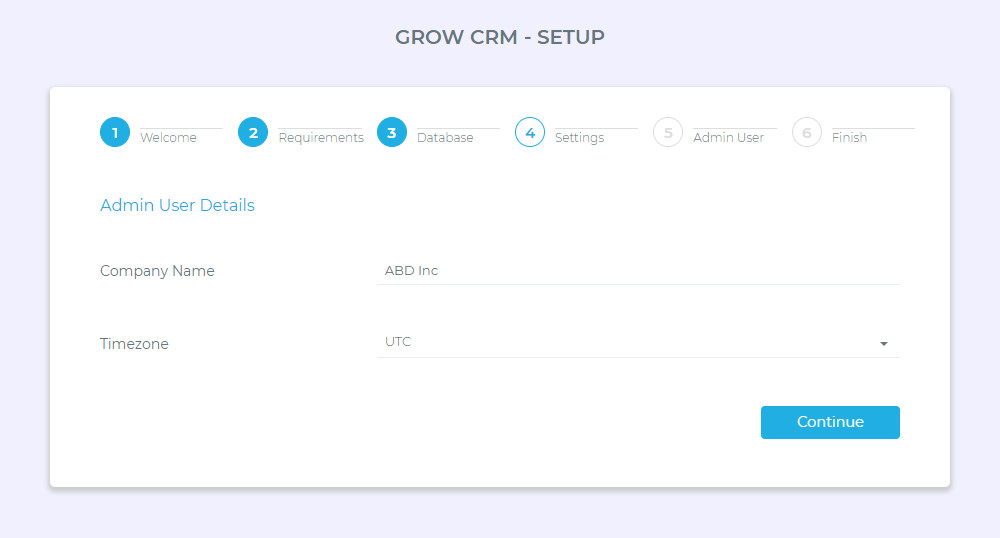
On the screen above, you will need to enter the following information:
- Company Name
- This is the name that will be displayed throughout the application (e.g. on Invoices)
- Timezone
- It is usually best to set your timezone to UTC. You can, however, set it to a timezone that best suits you and your customers
SETUP WIZARD – ADMIN USER DETAILS
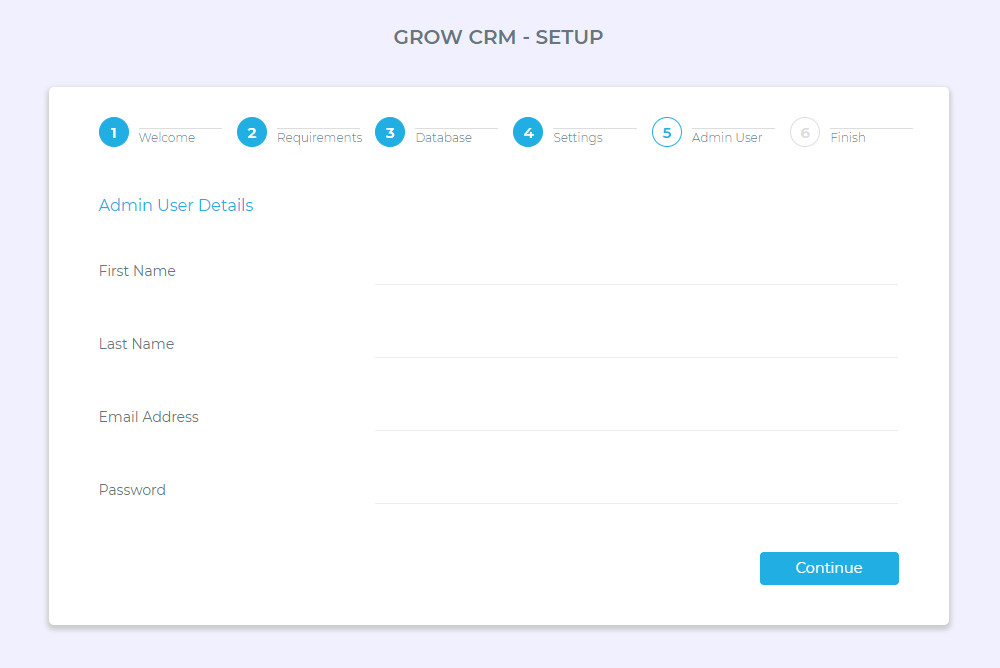
On this screen, you can now enter your details (as the admin). Click continue.
SETUP WIZARD – FINISH SETUP
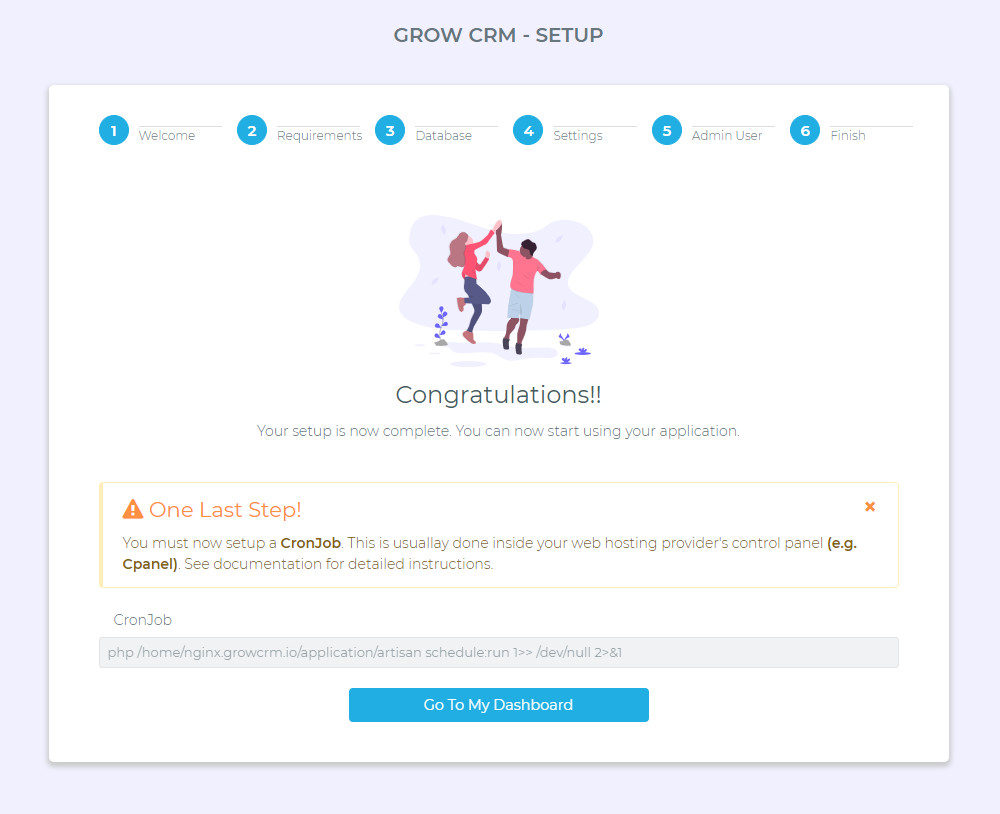
You will now be able to login the dashboard as an admin user and you can start creating your client accounts and your users accounts.
Please note, the dashboard url’s are the same for all users (team & client)
Example: http://www.yourdomain.com/login